Plugins
Plugins are a NoCode for BPM users, who can integrate their flows using the Plugins available on the X Platform, without the need for development.
With Plugins, integrations are made easier, simply informing the input and output parameters for the plugin to start working. Furthermore, it is possible to configure new Plugins and monitor the health of existing ones, checking their versions, call logs, response times and users.
Observation
All Plugins are developed and made available to all customers using the X Platform.
Using Plugins
Configuration is simple: just select the plugin and enter the parameters that will be assigned as flow variables, process and constants. After inserting the variables into the plugin, it is necessary to save and publish the flow that will use the integration. The process is demonstrated in the gif below.
If there is a need to configure a plugin without using it immediately, you can access the new platform menu under senior X Platform > Settings >Integration Services.
On this screen, you can configure Plugins and external services, in addition to changing Plugin versions as shown in the gif below.
To terminate the use of Plugins, you can view your health through the X Platform menu >Plugins. In this menu you can consult your versions, parameters, call logs, response time and user, as shown in the gif below.
Important
Aiming for better performance and usability, there is a blocking of 10 calls every minute per plugin, from the same user.
If you need an increase in this regard, send a ticket to BPM support.
Creating Plugins
To make a new plugin available, it is necessary to open a Merge Request in this repository on GitLab. It is important to remember that this process is aimed at developers.
To get started, you need to clone the repository and install Node 14.5.0. Then run the following commands:
- "npm install -g serveless" in any directory;
- "npm install" in the project folder.
The Merge Request must contain three files to be accepted and the new plugin to go into operation: swagger.yaml, index.ts and handler.ts.
The swagger.yaml file must contain information about the parameters, title and description of the plugin, which will be displayed within Senior GET, PUT or DELETE, as well as the request path. Finally, in the handler.ts file, there must be a method called handler, in which all the functions that the plugin must perform will be implemented.
When creating files, it is important to follow some standards:
- They must all be inside the folderplugin;
- A subfolder must be created containing the name of the plugin, which must be the same as that used in swagger and in the path within index.ts. For example, if the folder is called get-cep, the swagger must contain an item/obter-cep in the optionpaths, and the path attribute of index.ts must beget-cep.
Before committing and making the plugin available, you can test it locally using the commandsls offline, without the need for AWS infrastructure.
Observation
Anyone with development knowledge can create a plugin, but it will be subject to evaluation by Senior's technical team before being published on the platform. The evaluation will be carried out within 5 days and the result will be communicated to the plugin creator.
G5 plugin
With the aim of simplifying integration, Plugins were developed to facilitate interaction between the platform and Senior's G5 systems, which include: Business Management | ERP, SME Business Management | GOUP, People Management | HCM and Ronda Senior. The G5 plugin's main function is to insert data available via API into the G5.
This plugin allows you to configure global parameters with default values. If you do not enter a specific value during plugin configuration, BPM will use the automatically configured default value.
It is also possible to create personalized configurations for this plugin, allowing it to be integrated with G5 services. Check out an example configuration in the video below.
To select the plugin with the desired bpm settings, check the example below.
View Log and Payload
Through the senior X Platform menu>Plugins, the functionality to view advanced plugin error details is available. To view the error message, simply select a plugin and, in theExecution history, click the buttonView error message.
An error message will be displayed, an example of this message would be:requestid3c2cecee-0738-4d12-9339-d5c682cf5d03.
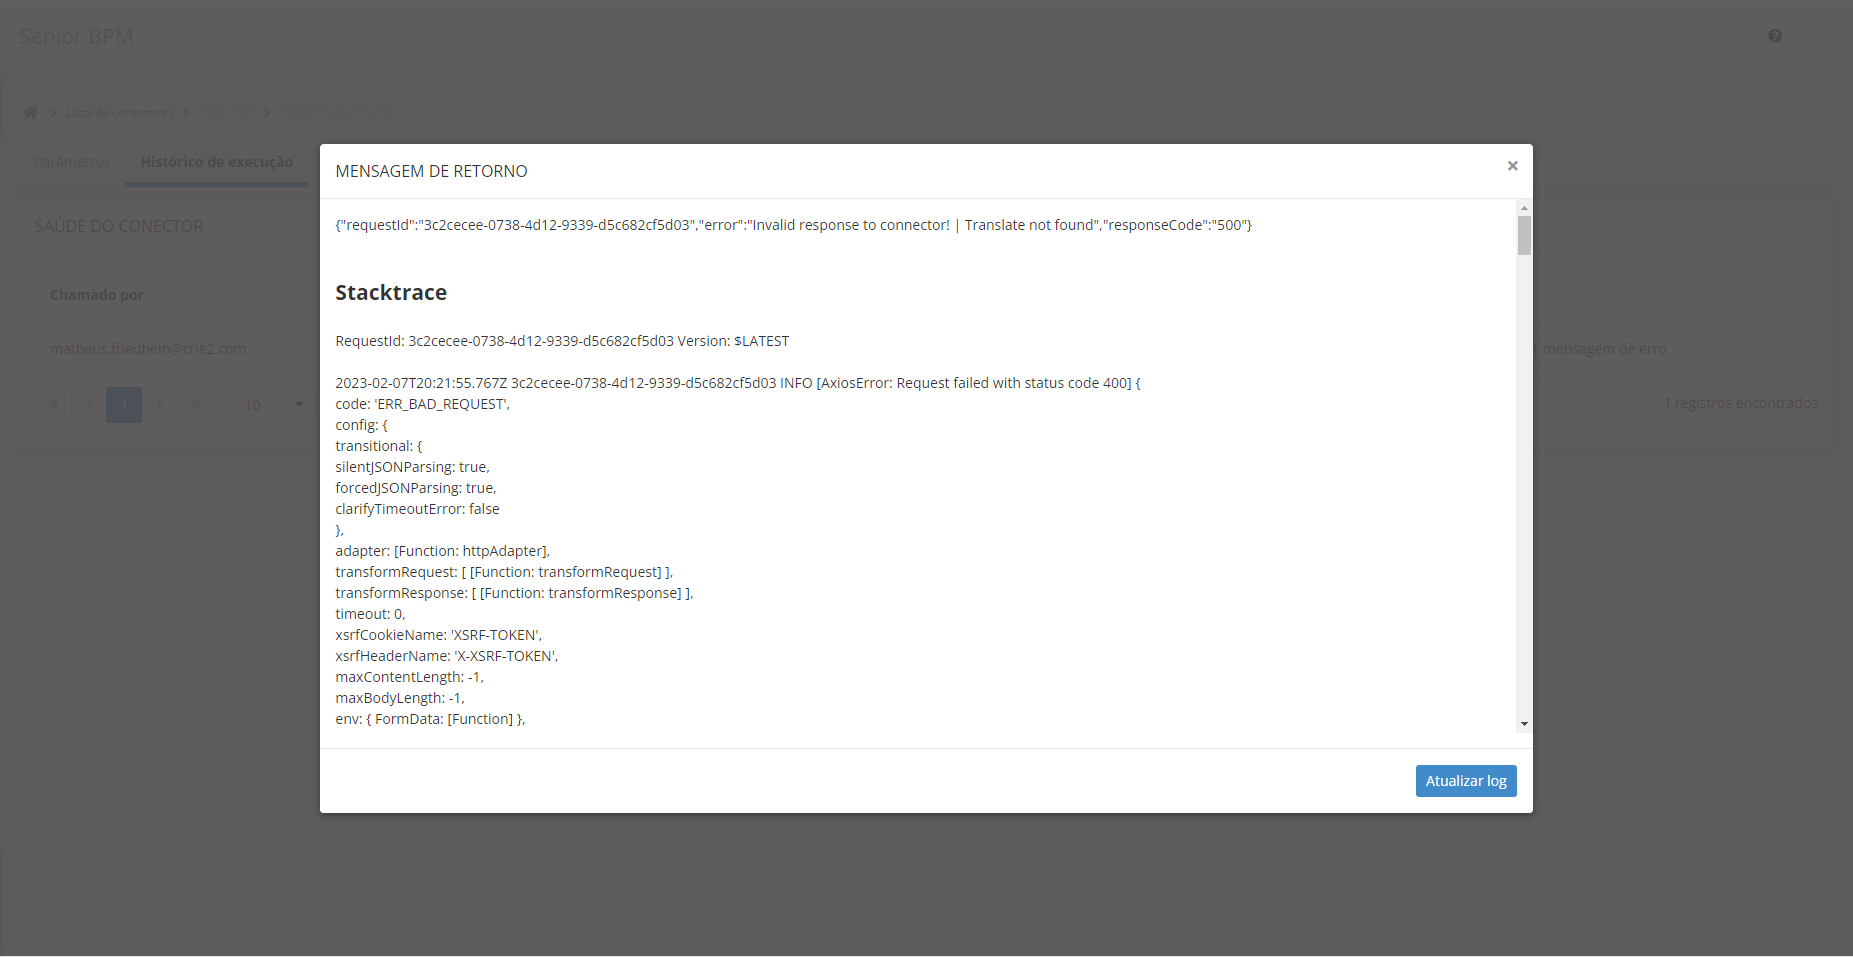
Important
Error logs take up to 30 seconds to collect, all error logs are automatically deleted after 30 days.
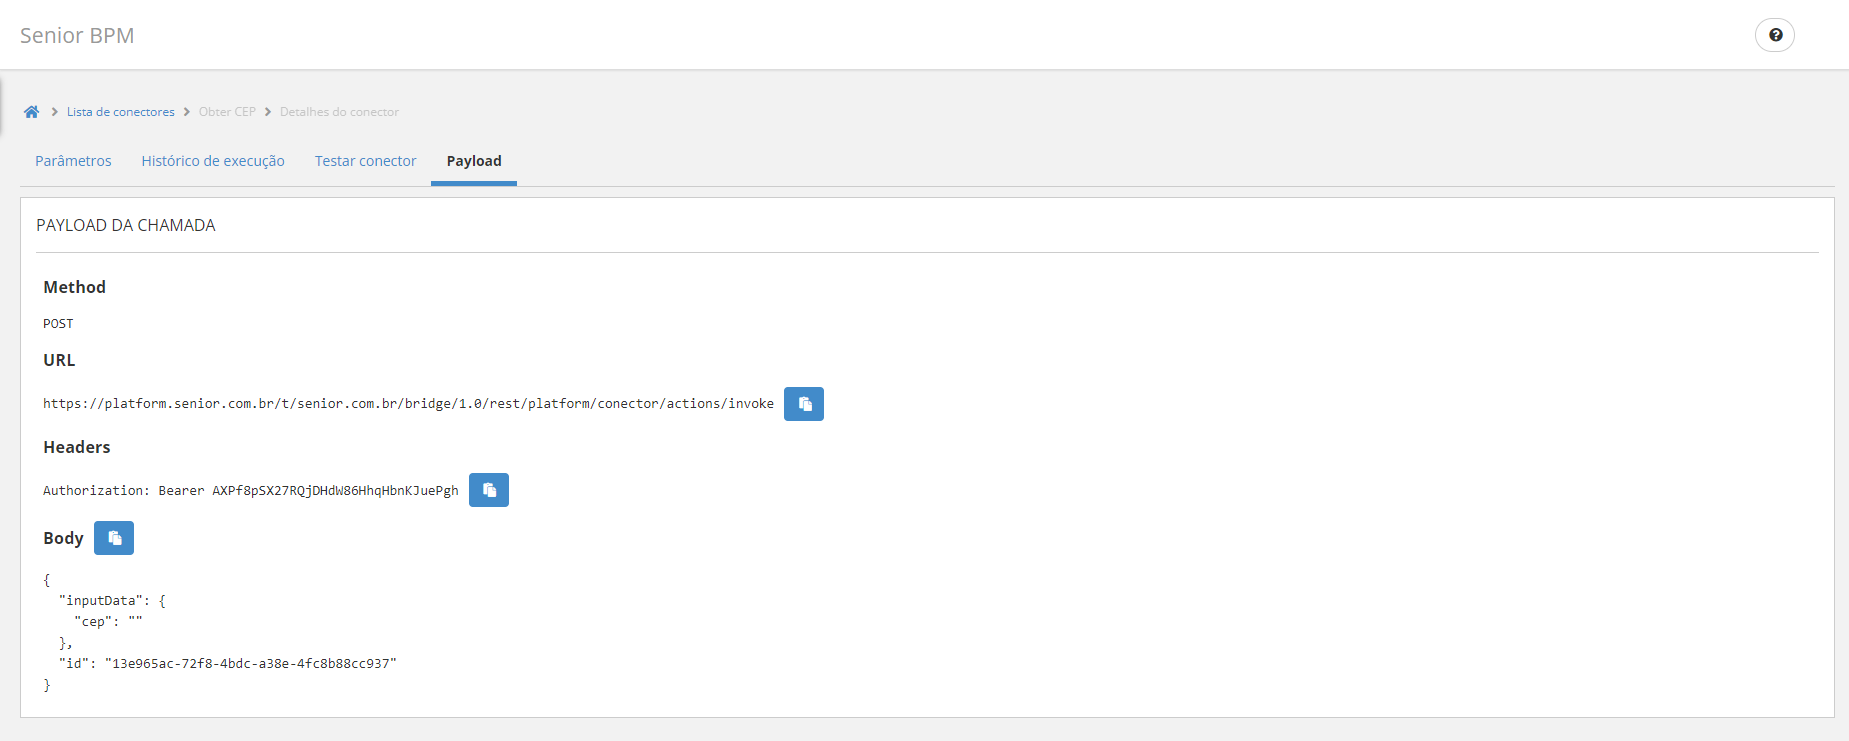
Furthermore, the plugin is compatible withDataset API, allowing access to the plugin payload through senior X Platform>Plugins. To view the information, select a plugin and click the tabPayload. The information will be available for viewing.
Using Data Source through a plugin
Setting up a plugin with the desired data sources is quick and simple. Simply choose one of the sources already created in the plugins and enter the relevant parameters, which can be assigned as variables, flow, process or constants.
The Plugins available for configuration are: List accounts (CRM), List opportunities (CRM), List States of Brazil (IBGE) and List of SeniorX users.
You can access the senior X Platform menu >Plugins to view the health of Plugins, consult their versions, parameters, call logs and response time, as well as the responsible user.
To create a new data source through a plugin and make it available for use in a new process, it is necessary to configure it in the desired form field. Once configured, you need to save the changes so that the data source is visible in the new process request.
To select a data source with a plugin already configured within BPM, simply choose the desired source from the available options.
Important
To use the plugin, you must release the external IP 34.230.148.169 on your internal network.
With the release of the Plugins, the SXI-API will no longer receive updates or corrections.


